Hey everyone, it’s John, welcome to our recipe site. Today, we’re going to make a special dish, just follow the steps! my grandma's simmered taro. It is one of my favorites food recipes. This time, I am going to make it a bit tasty. This will be really delicious.
Just Follow the Steps! My Grandma's Simmered Taro is one of the most popular of current trending foods in the world. It’s enjoyed by millions every day. It’s easy, it’s fast, it tastes delicious. Just Follow the Steps! My Grandma's Simmered Taro is something which I’ve loved my entire life. They are fine and they look wonderful.
Great recipe for Just Follow the Steps! This rustic simmered dish known as "Satoimo no Nimono" is classic Japanese home cooking, and it highlights the unique, starchy texture of taro. Compared to a potato, taro has three times the amount of fiber and is rich in plenty of other minerals. As a guideline, treat taro as you would a potato or sweet potato: simmered, stewed, fried, or mashed.
To begin with this particular recipe, we have to prepare a few components. You can have just follow the steps! my grandma's simmered taro using 6 ingredients and 9 steps. Here is how you cook that.
The ingredients needed to make Just Follow the Steps! My Grandma's Simmered Taro:
- Make ready 500 grams Satoimo (taro)
- Prepare 1 tsp Dashi stock granules
- Get 3 tbsp Soy sauce
- Get 4 tbsp Sugar
- Get To finish:
- Take 3 tbsp Mirin
Find out your Tarot Card Name using the chart below! Now look up your own personal Tarot card and the meaning it has for you here, for free! This was to release seeds from the pulp to be fished out and removed from the filling. While the grapes I used didn't have seeds that were as large as a Concord's, there were still small seeds that needed to be released.
Steps to make Just Follow the Steps! My Grandma's Simmered Taro:
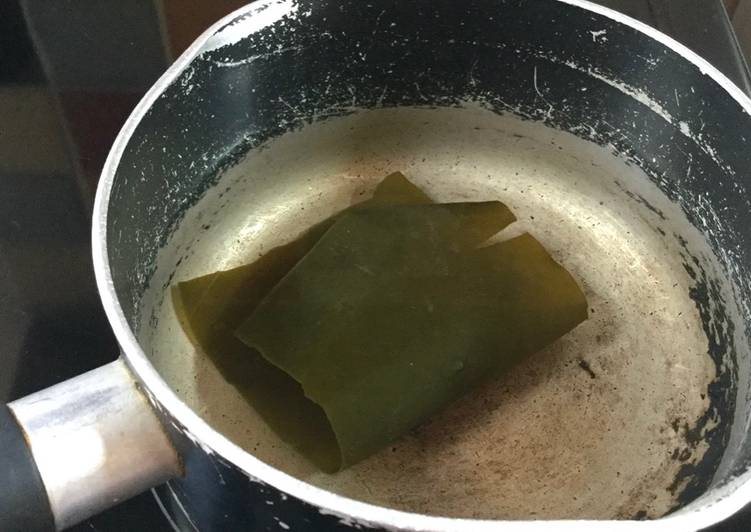
- Place the peeled taro into a wide pan, coat the potatoes with Japanese style dashi stock, soy sauce, and sugar, and then turn on the heat. Don't use any water at this stage.
- While ladling the flavoring on the taro, boil the sauce down over strong heat. It doesn't matter if they burn a bit since it adds to the flavor!
- After boiling it down, add enough hot water (this speeds up the process) to lightly submerge the taro, and boil down on medium to strong heat. Cover with a lid that sits right on top of the taro (an otoshibuta or drop lid).
- Once small bubbles start forming on the surface, stick a toothpick; if it goes through cleanly, then mix in the mirin, turn off the heat, cover with a lid, and steam-cook.
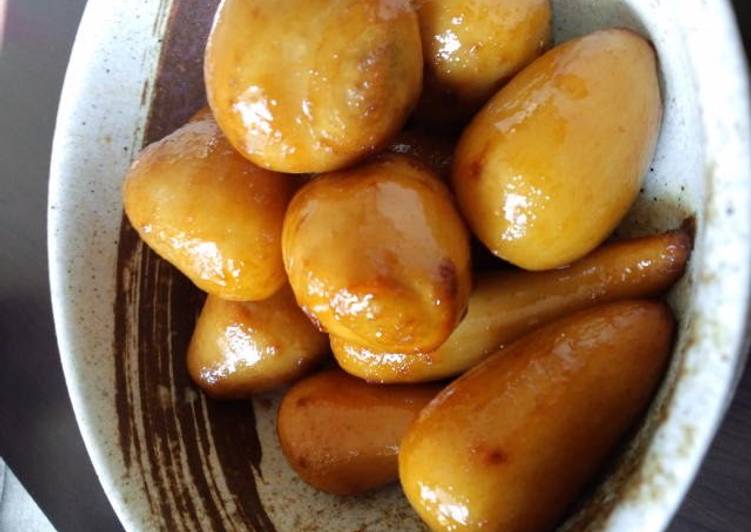
- Now then, you should have glossy taro tumbles. If you let them sit overnight after cooking, then the flavor will soak in and it will become more delicious.
- In step 3, there are times when the taro will not cook through over strong heat, so boil the sauce down over medium to strong heat while keeping an eye on the taro.
- Burdock root will induce your appetite while this is boiling. It seems to be a good idea to add in the burdock root with lots of water and slowly boil it.
- There are many recipes that state their husbands and children eat them happily, and I am happy to add my family's flavor to that list. Please adjust the flavor to your preference.
- I saw my grandma for the first time in a long time the other day, so I made sure to tell her how great her recipe is!
This was to release seeds from the pulp to be fished out and removed from the filling. While the grapes I used didn't have seeds that were as large as a Concord's, there were still small seeds that needed to be released. For New Year's dish, the vegetables and konnyaku are cut into fancy shapes to celebrate the occasion but for daily use or bento, you can simply cut them into small pieces using a Japanese cutting technique called "Rangiri". Rangiri style cutting is to roll the vegetable a quarter (¼) turn, cut on an angle, and then roll again another quarter (¼) turn. My true grandmother used this particular triton to call the workers in for lunch from the mud, humidity and backbreaking work of tending to the Taro paddies.
So that’s going to wrap it up with this exceptional food just follow the steps! my grandma's simmered taro recipe. Thank you very much for reading. I’m confident you can make this at home. There is gonna be interesting food in home recipes coming up. Don’t forget to bookmark this page on your browser, and share it to your loved ones, colleague and friends. Thank you for reading. Go on get cooking!